
Easy Ways to Preserve Herbs

With fall fast approaching, it’s time to harvest and preserve your herbs.
One of the back to school activities at EarthBites, a non-profit organization I work with, is harvesting the herbs in school gardens and preserving them to use later in the season. We create spice mixes and herb bundles for cooking and fragrance. It’s a simple and fun fall activity that students from Kindergarten to Grade 7 love.
Preserving your herbs depends on which herbs you use, your equipment, and your preserving space. Learn below two main methods of how to preserve and have fun trying the one that suits you best.
WHAT IS A HERB?
A herb is the green leafy part of the plant used for flavouring food, medicine, or perfume. Herbs have fragrant or aromatic properties and are used in cooking to accent the dish rather than be used as the main ingredient. Basil is a well known and excellent example of a herb; it’s leaves are used to flavour a dish, or make a paste (pesto) rather than used as the main ingredient of a dish (ie. such as using spinach for a salad). Other well known herbs are mint, lavender, thyme, oregano, sage, parsley, and cilantro. You can learn more about my favourite herbs in “5 Favourite Herbs for Health”.
Spices are also used in this same manner; as a flavouring vs the main ingredient in a dish. The difference between spices and herbs is the part of the plant from which they originate. A spice comes from the bark, root, stem, seed, fruit, flower or bark of a tree or plant. Examples are coriander, cinnamon, ginger, black pepper, star anise, and turmeric. Spices are used in dried form whereas herbs are used both fresh and dried.
HARVESTING HERBS
For the best tasting herb, plan to harvest just before the flowers open as flowering herbs can taste bitter. Plan your harvesting session around mid-morning when dew has dried but the sun has not evaporated the oils that provide the flavour.
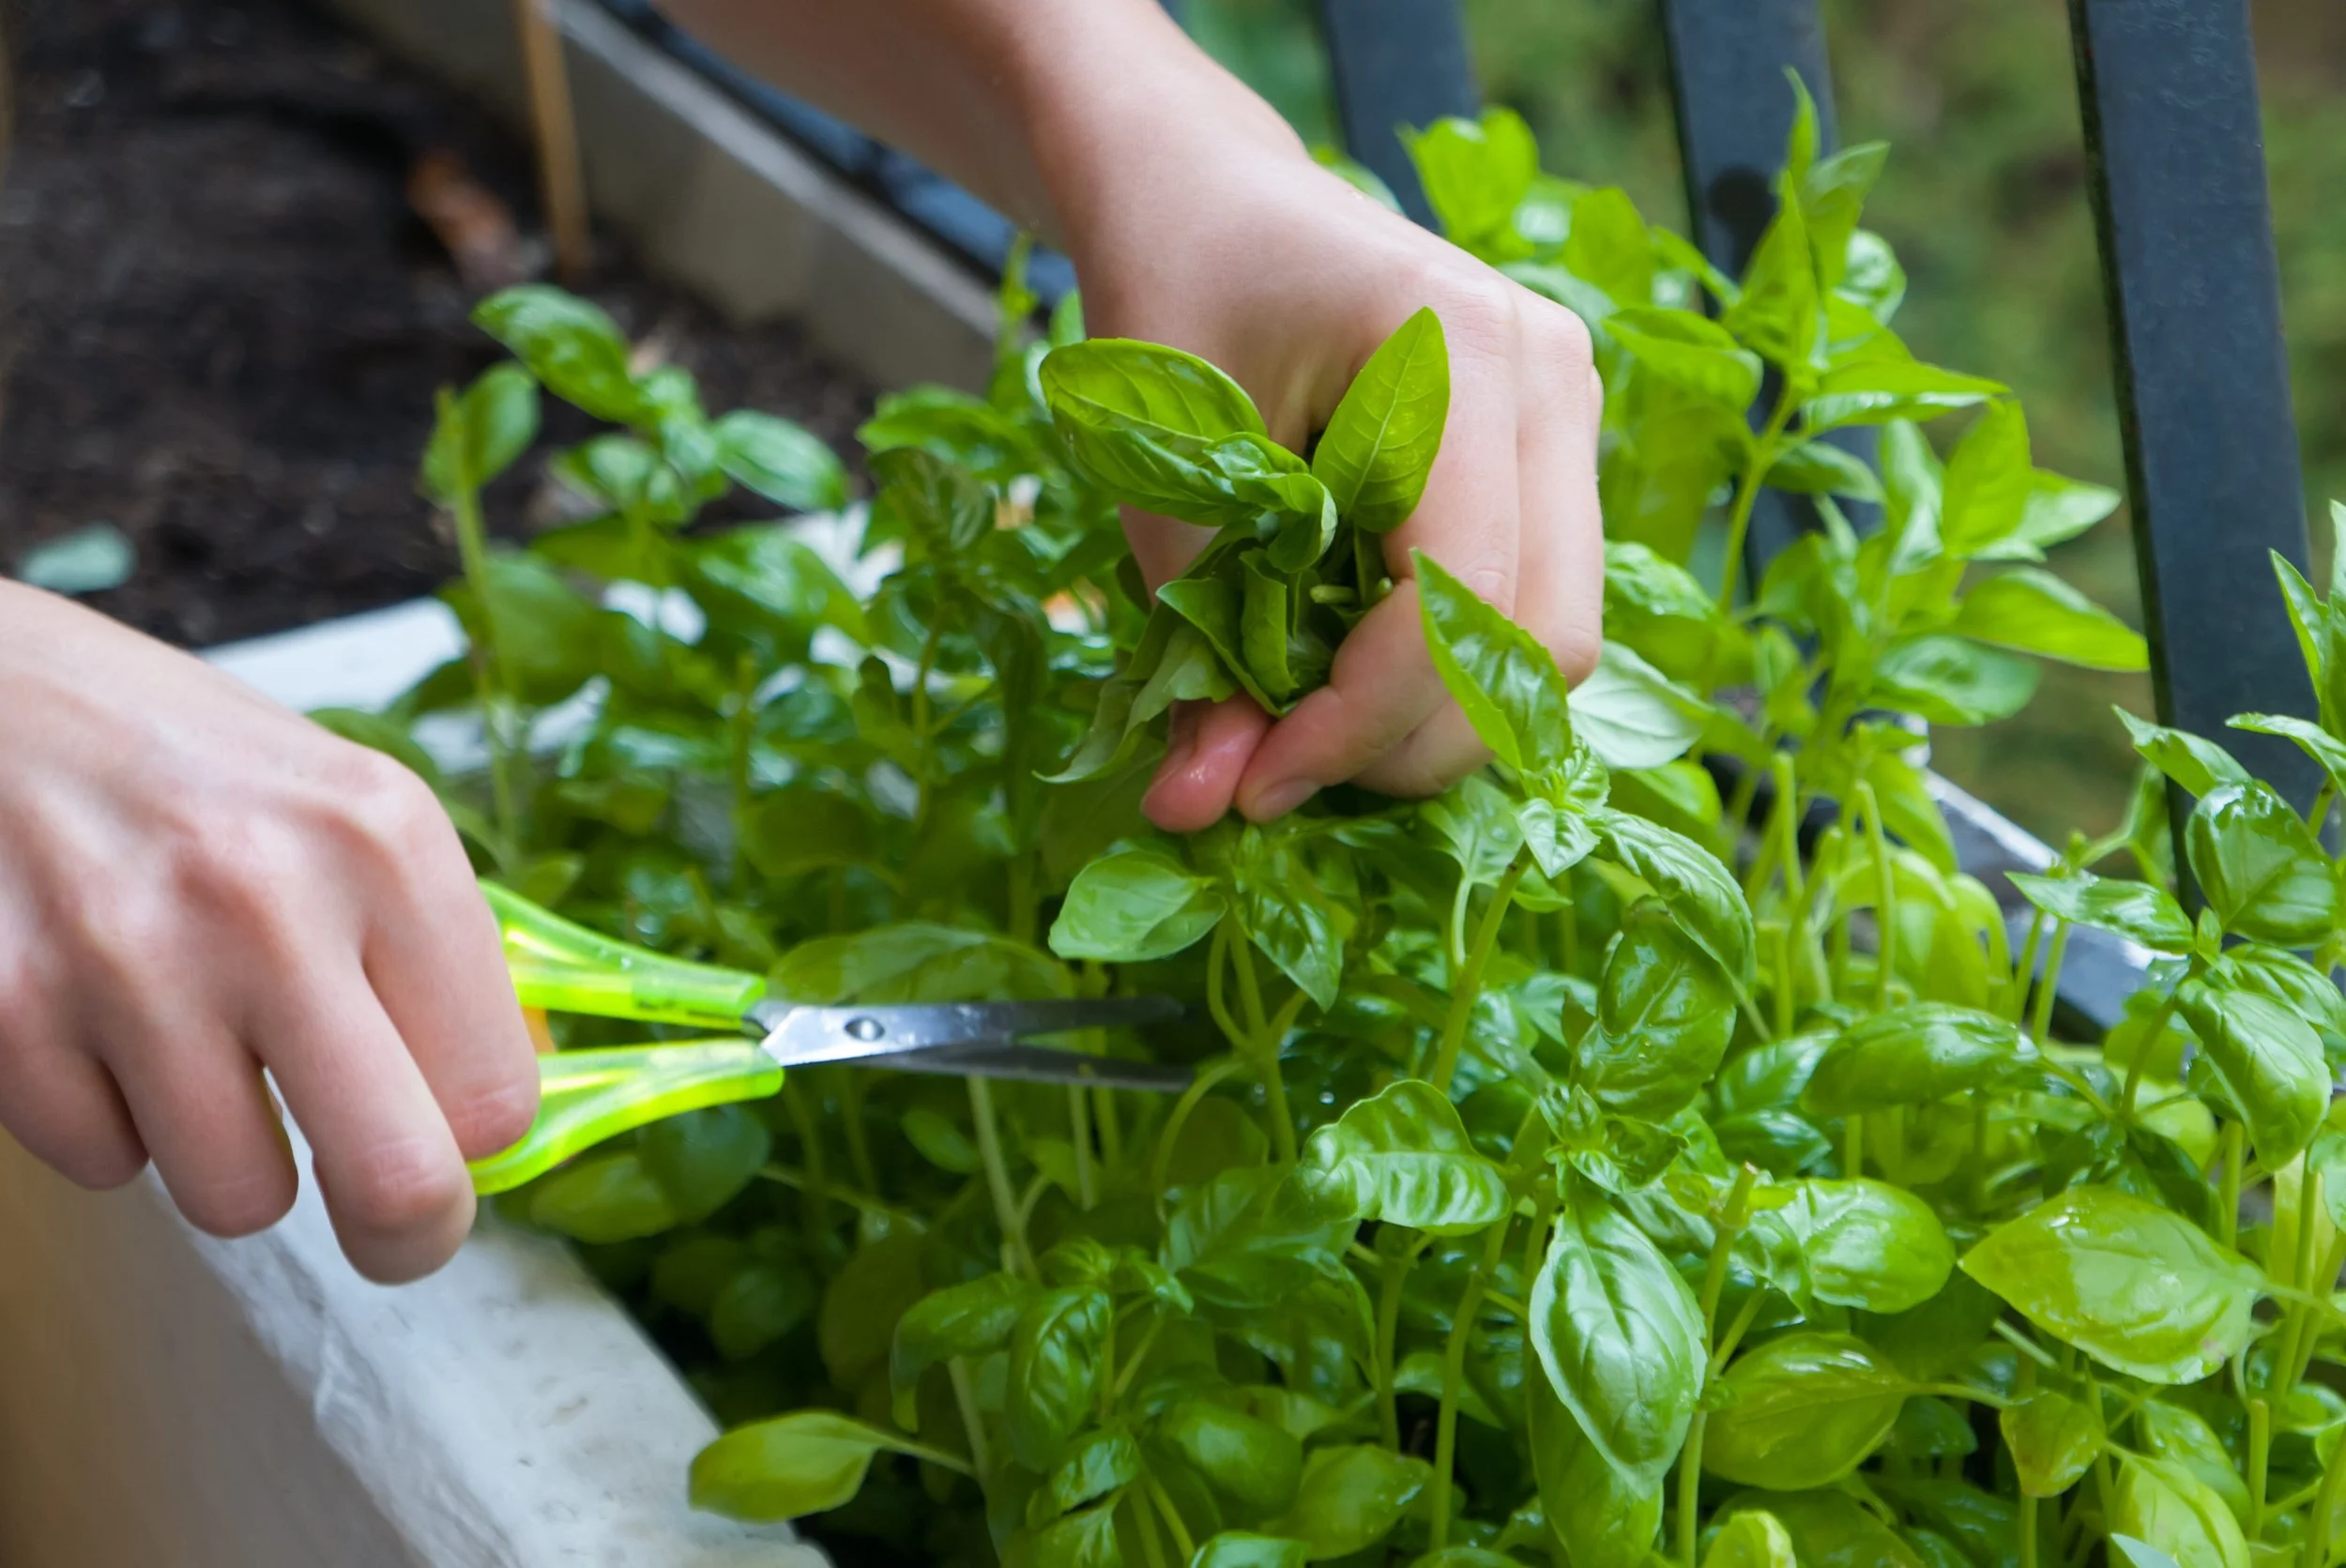
Use scissors to cut the stems just above a leaf or pair of leaves. For the most intense flavour, pick new leaves at the tip of the plant. If your growing season isn’t yet over, leave 4-6” (10-15cm) of stem for later growth and another harvest.
Rinse the herbs in clear water and pat dry or spin them dry in a salad spinner. Be careful not to crush or bruise them, especially those that have more delicate leaves such as basil, cilantro, and parsley.
HERB STORAGE
If you have a garden with fresh herbs, or want to take advantage of local fresh herbs while they are in season, you can preserve them by either drying or freezing. The method you choose will depend on future use of the herb and the type of herb.
Some herbs are better preserved by freezing. These are:
Chives
Cilantro
Lemon Balm
Lemon Verbena
Marjoram
Herbs such as scented geranium and fennel are better preserved by drying.
Most other herbs can be either dried or frozen, and you can choose based on your equipment and storage capacity.
Store dry herbs in sealed jars in a cool, dark, and dry space. Consider replacing them every 6 months as they lose their freshness and potency. Dried herbs lose their potency quicker than spices, and ground spices lose their potency quicker than whole spices.
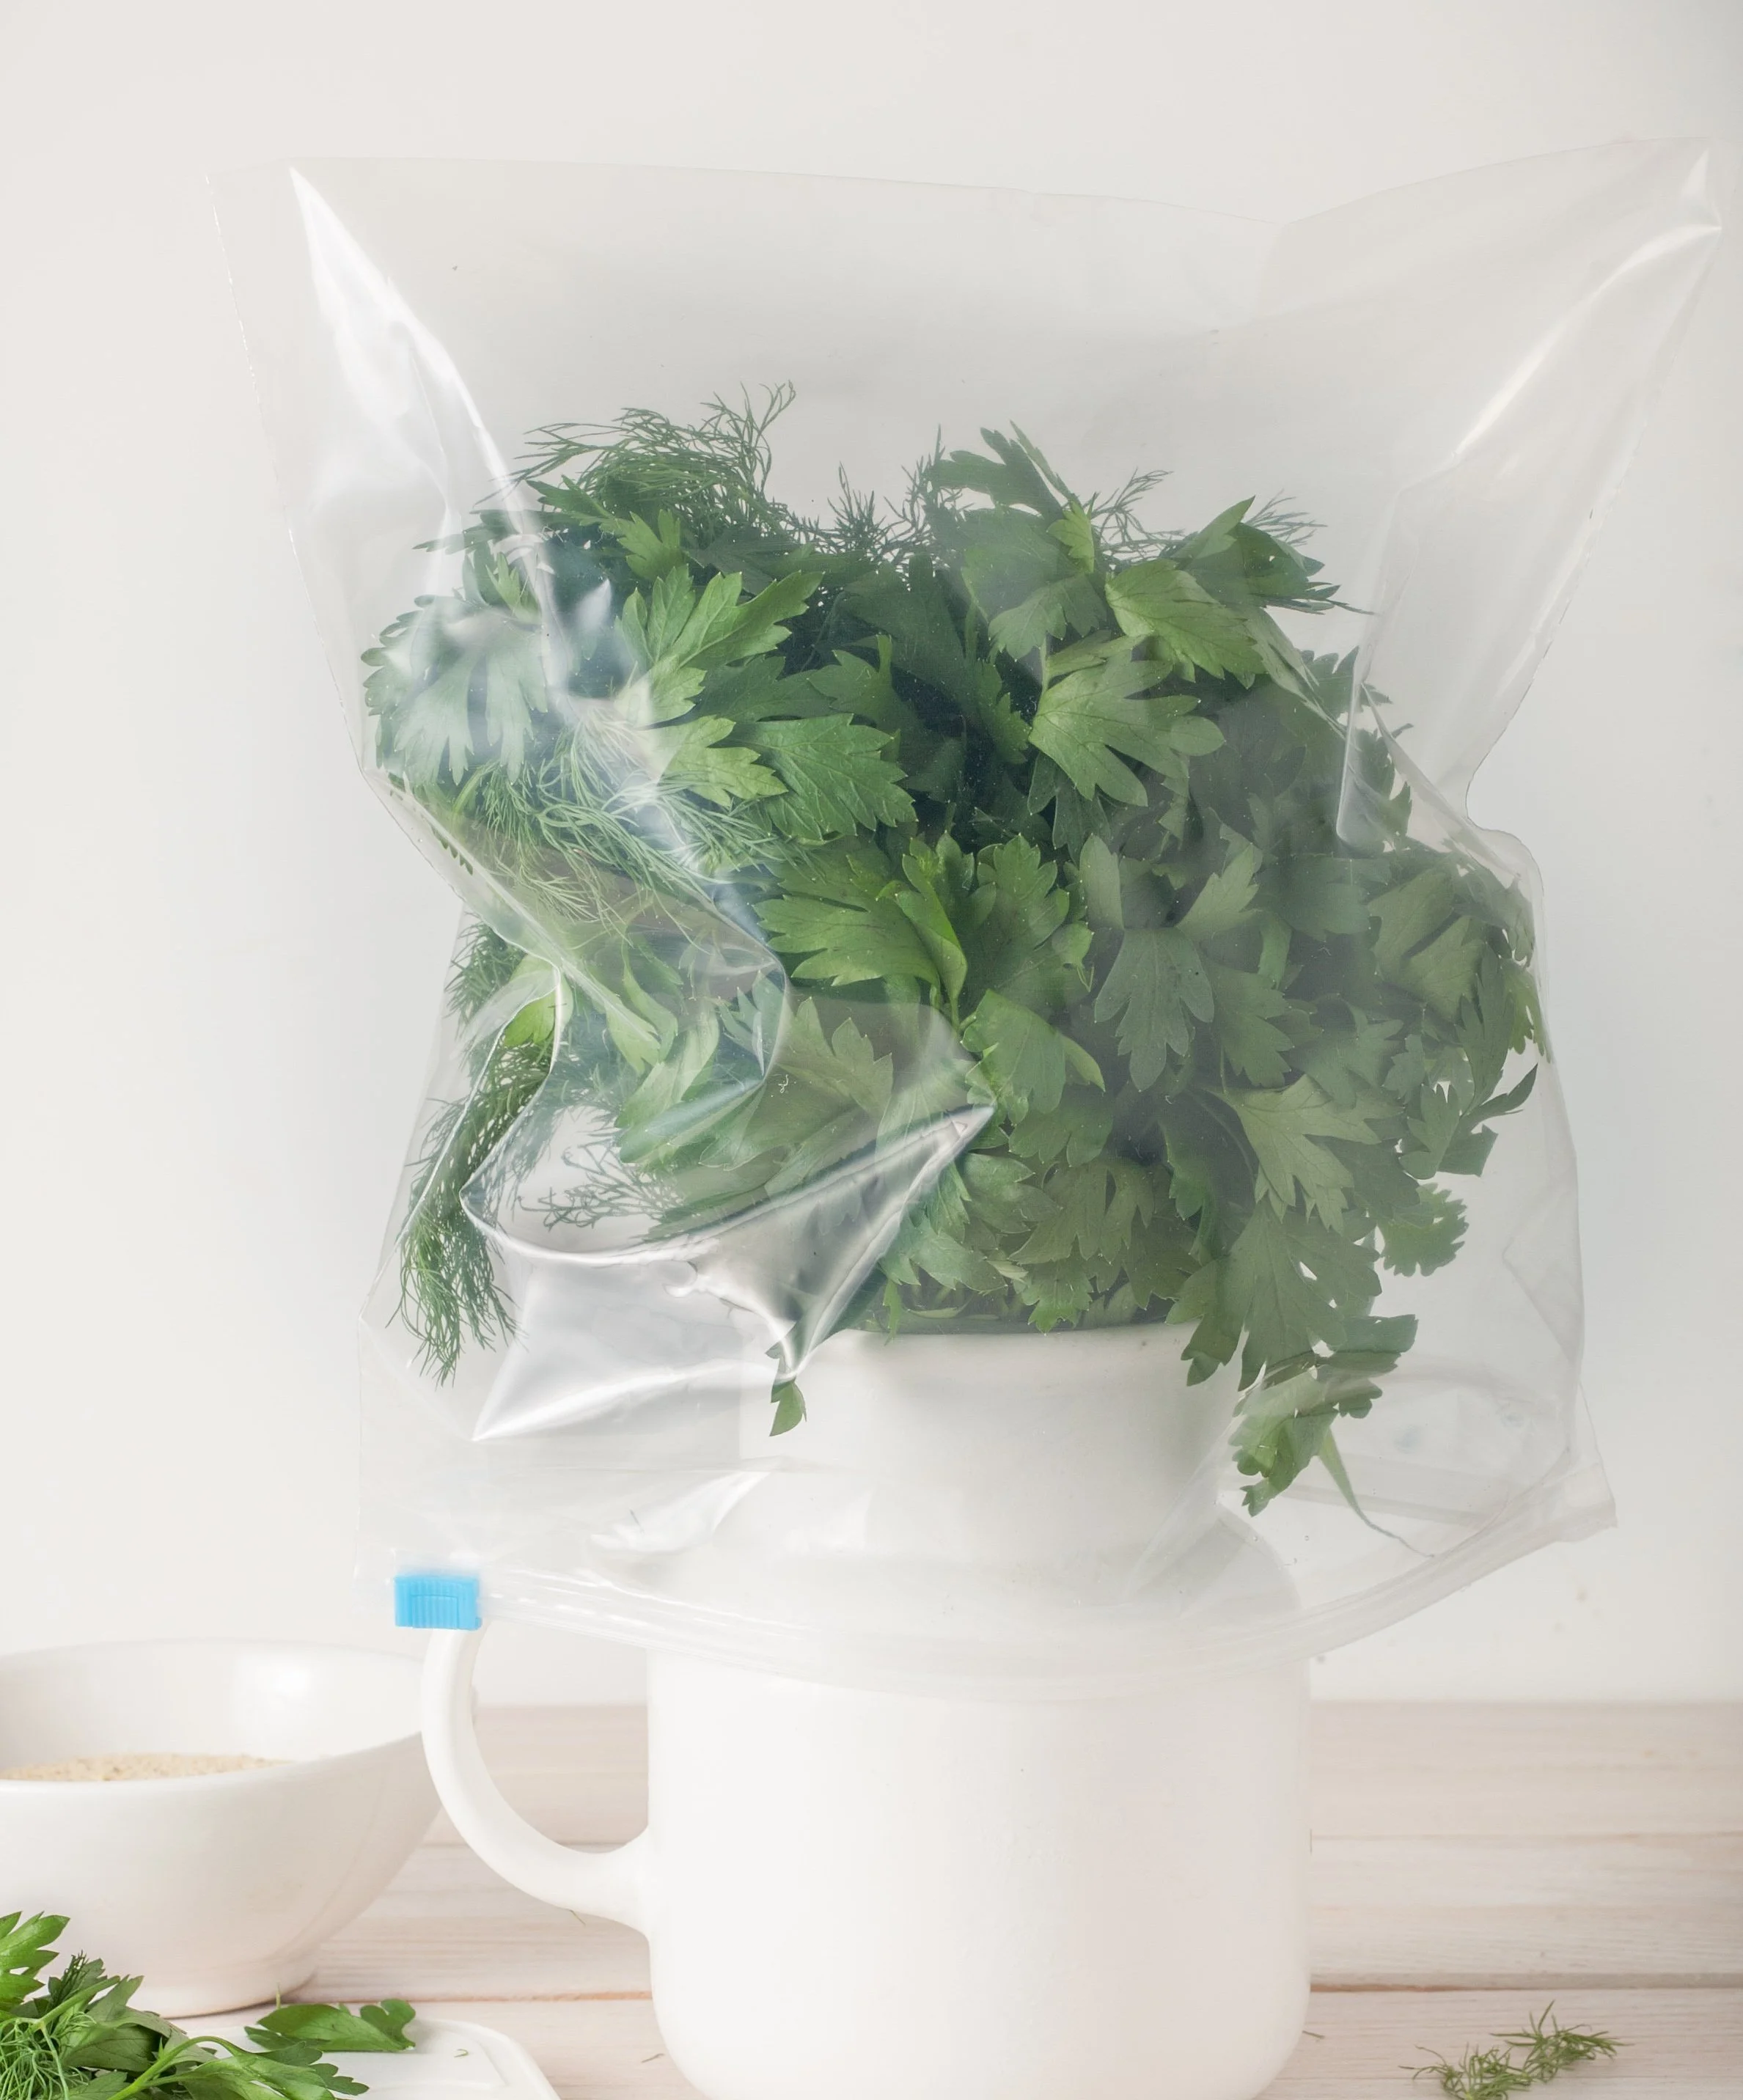
Fresh herbs have a much shorter lifespan and will last longer if they are washed, carefully dried, gently wrapped in a clean towel, sealed into a closeable bag, and stored in the refrigerator. Store leafy herbs such as parsley and cilantro in the fridge in a jar filled with fresh water. I pop a thin plastic bag over top to keep them fresh longer. Replace the water every few days.
FREEZING HERBS
Freezing herbs better maintains their essential oils, as well as the flavours of delicate herbs such as basil, lemon balm, dill, fennel, thyme, basil, and chives.
Unlike with fresh-vs-dried herbs where the proportions differ, frozen herbs can be used in the same proportion as fresh herbs. Plan to use frozen herbs in cooked dishes as freezing causes the water in the cell walls to expand, leaving you with wilted herbs when thawed. They will likely not be attractive as garnishes!
No matter what method you choose, plan to use the herbs frozen (do not thaw before adding them to your dishes).
Freeze Flat on a Tray
Lay washed and dried herbs in one layer on a clean cookie sheet.
Cover the tray with a silicone mat or parchment paper to prevent sticking.
Once the herbs are frozen, store in a jar or freezer bag and use as needed.
With the greater surface area, herbs frozen this way freeze and melt quickly.
If discolouration is a problem, spray or massage the herbs with a bit of olive oil before freezing.
Herbs such as rosemary and thyme, can have their stems left on for freezing.
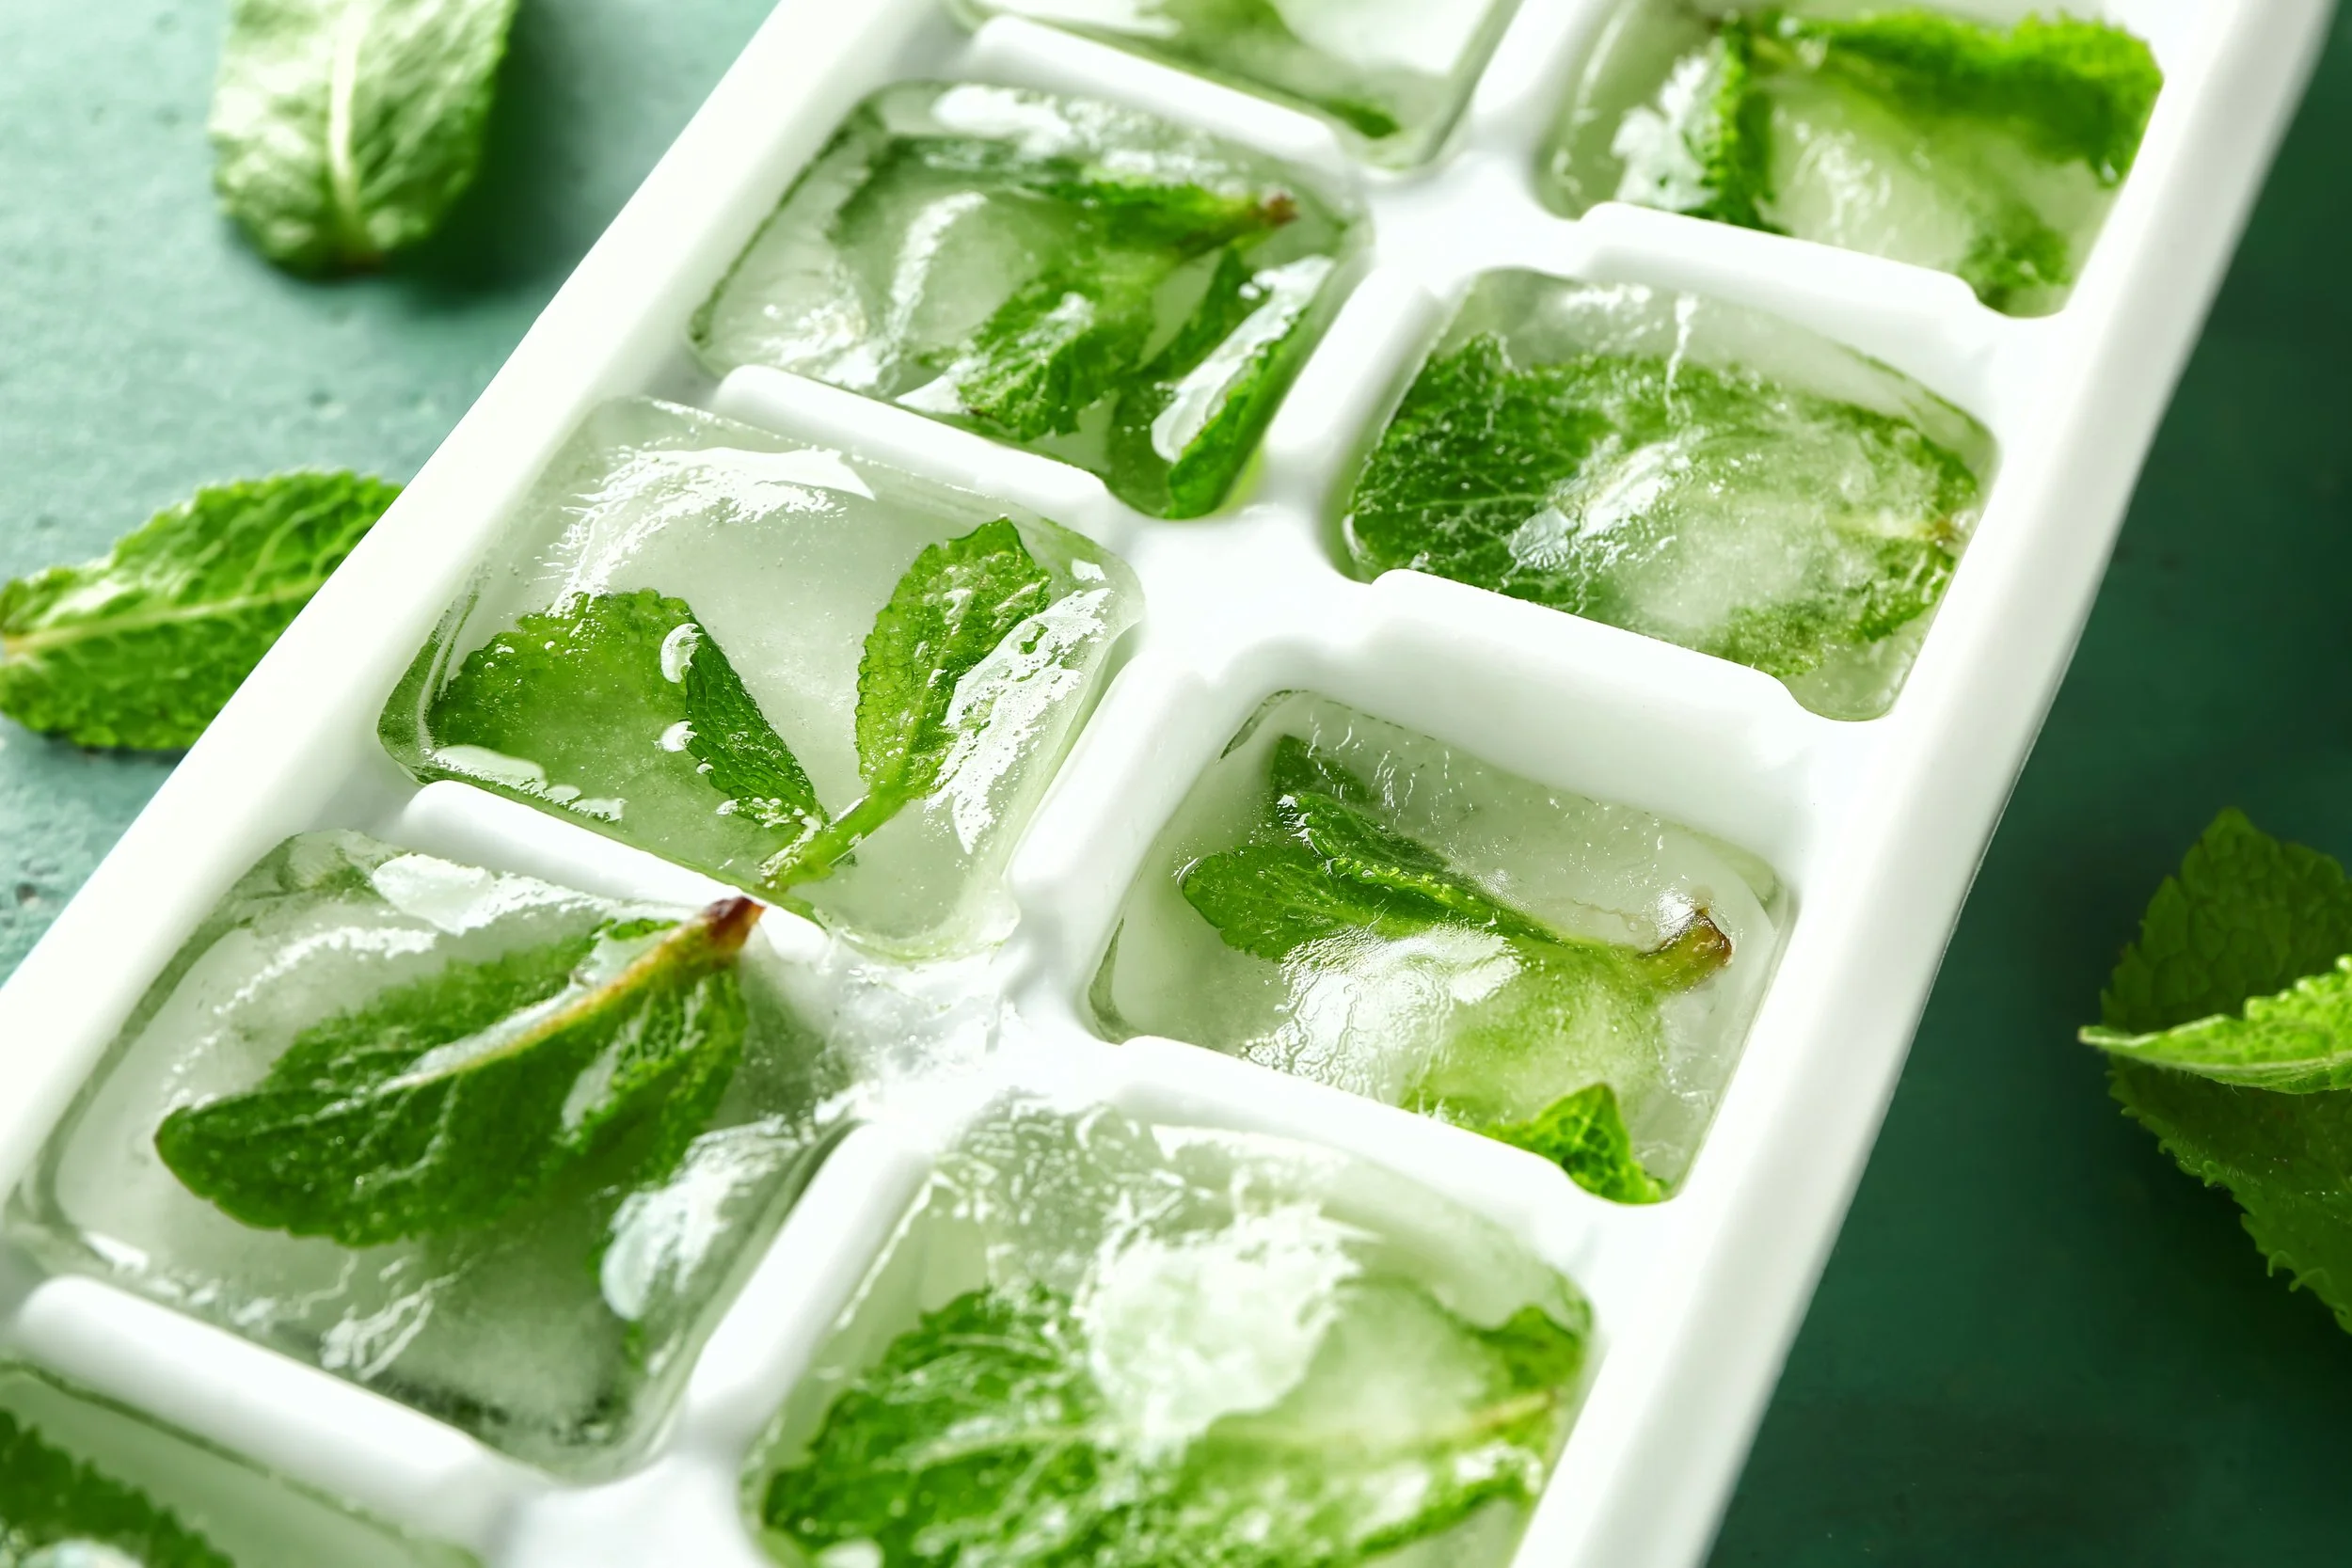
Ice Cube Trays & Water
Strip leaves from stems of your washed and dried herbs and chop them as you would to use them fresh.
Place herbs in each section of the tray—about 1 tablespoon in each, and fill the tray half full of water. Push herbs under the water as much as possible. It’s okay if the herbs float to the top. Place in the freezer overnight or until frozen solid. Top off the cubes with additional water and return the tray to the freezer.
When frozen, pop out the herb cubes and store in a glass jar or freezer bag. Be sure to label and date. Strong smelling herbs should be stored in freezer jars to avoid transferring its odour to other foods.
Use frozen cubes in soups, sauces, stews or other cooked dishes.
When using this method, be aware that the herbs may cook unevenly as the ice cube melts. As an alternative, try using the Freeze Flat method.
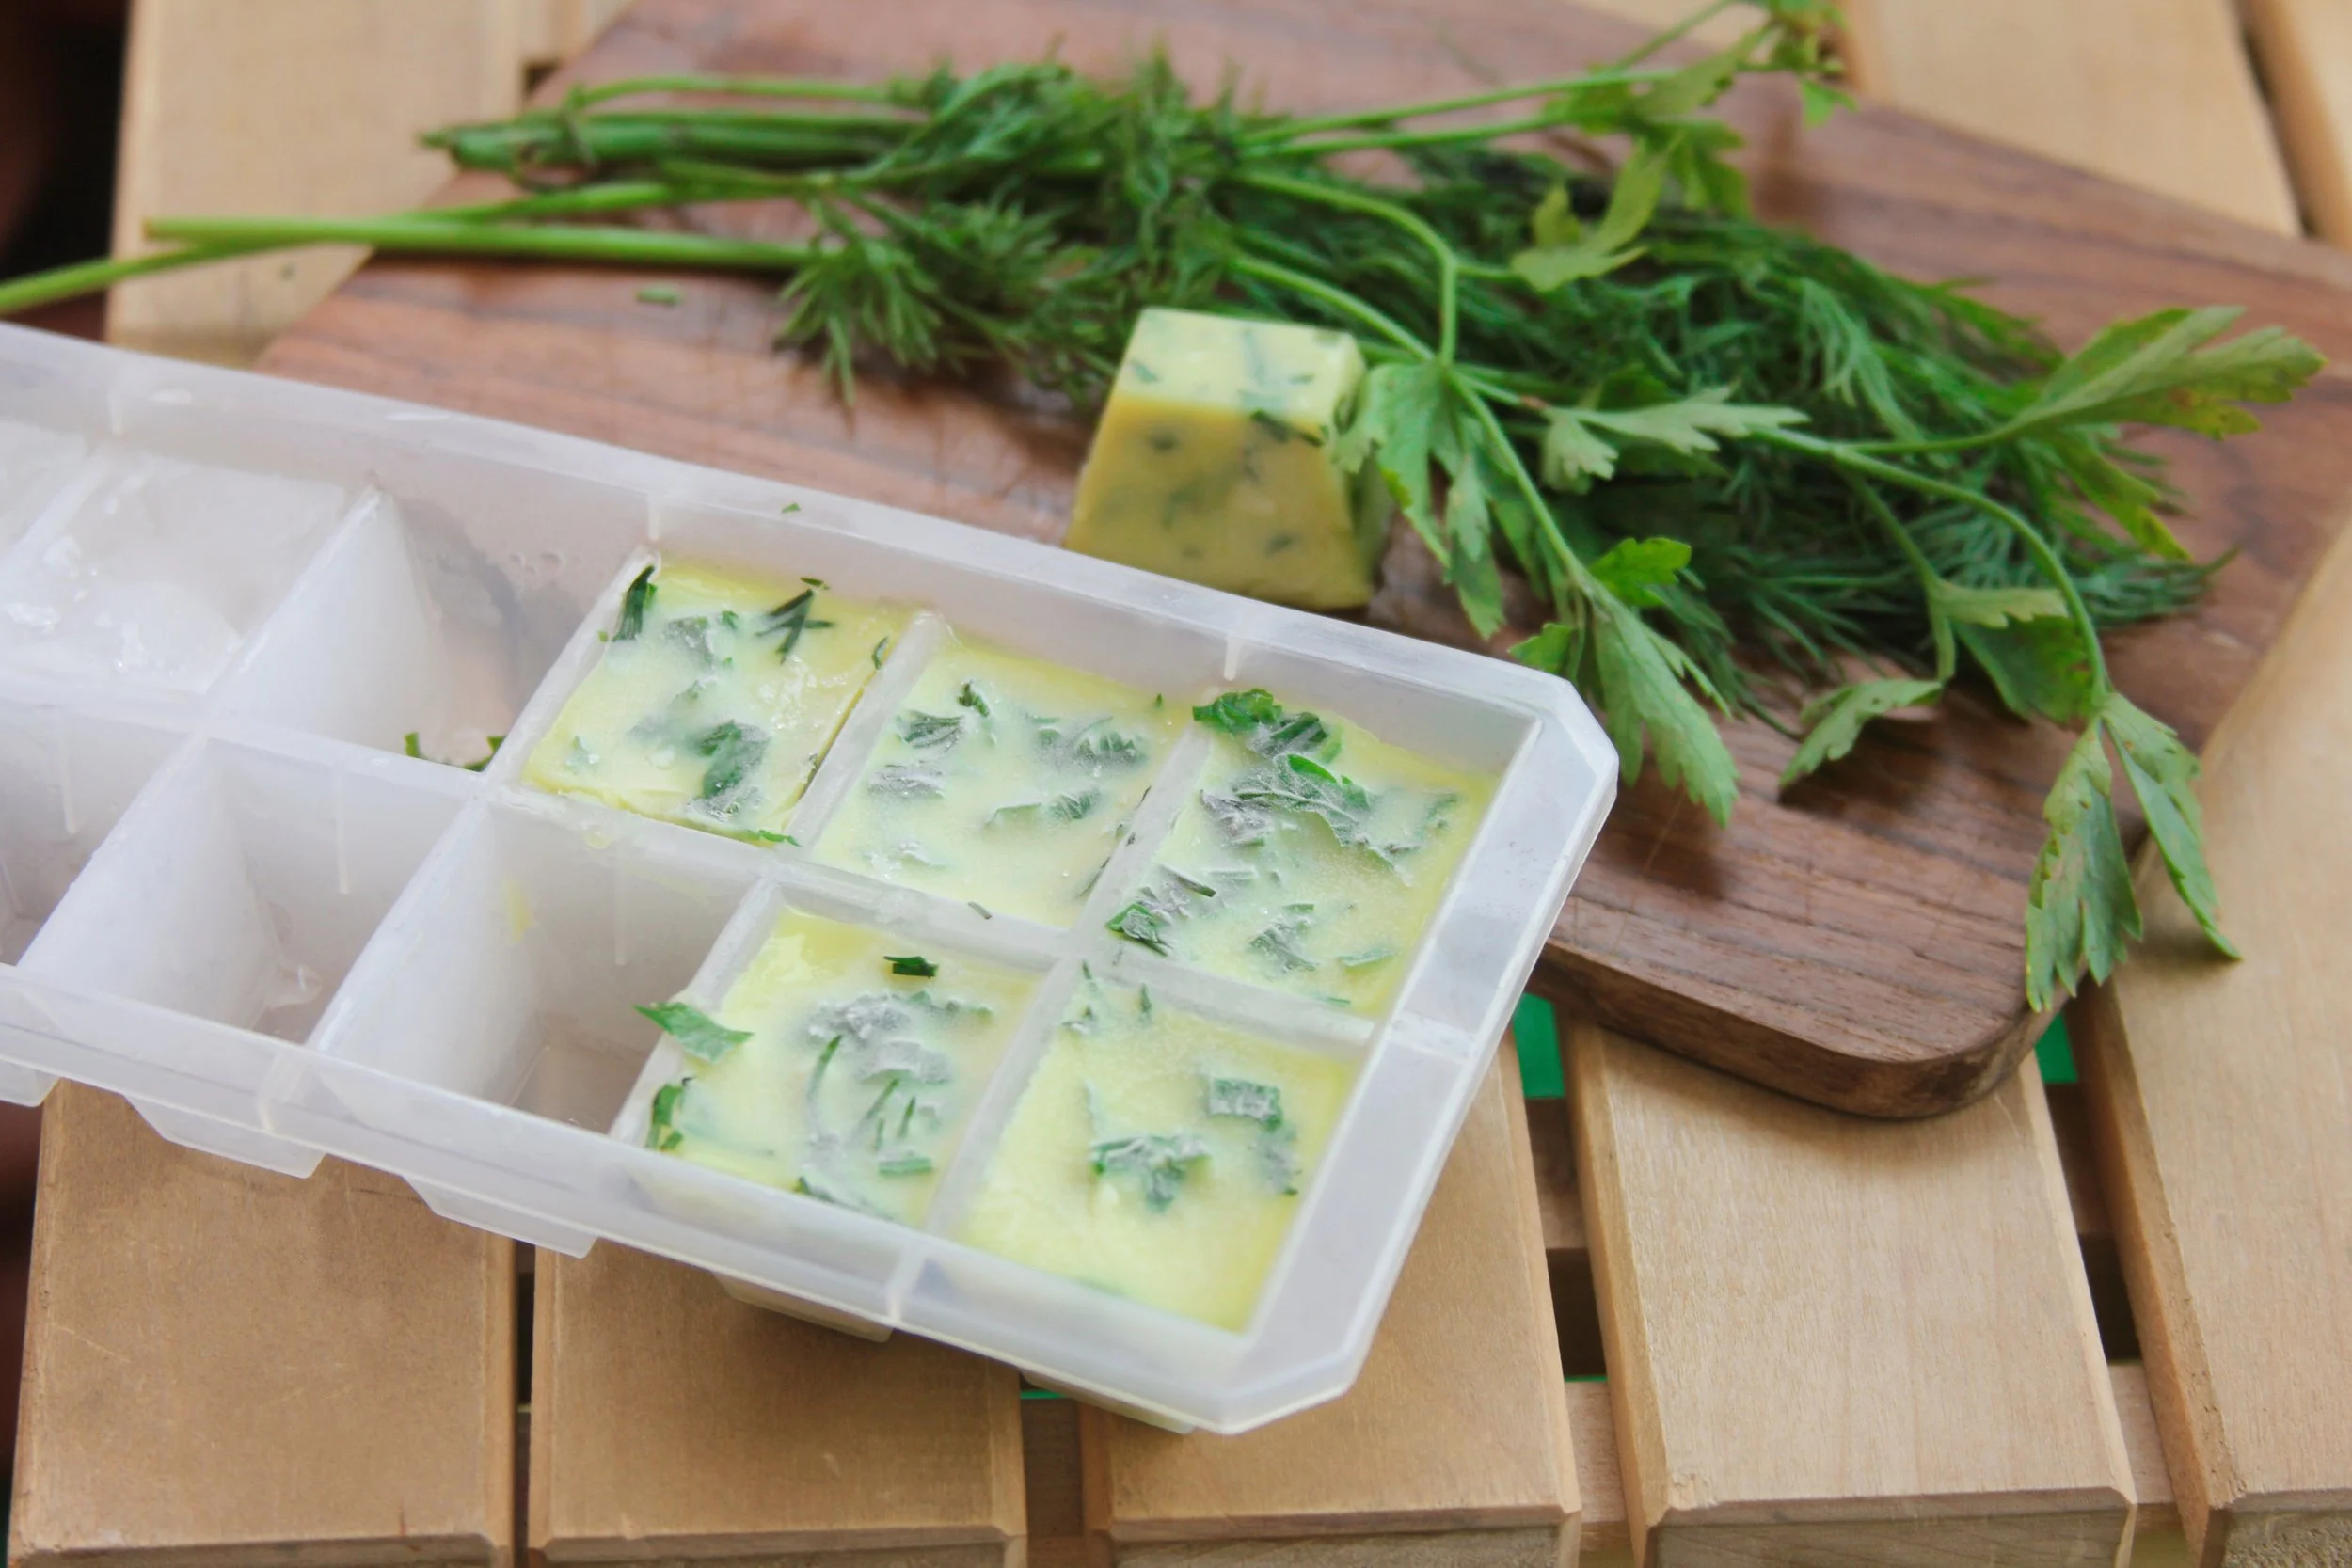
Freezing Herbs in Oil
Strip leaves from stems of your washed and dried herbs and chop them as you would to use them fresh.
Mix 2 cups chopped herbs with ⅓ - ½ cups of high quality olive oil.
Freeze in ice cube trays or small jars. As the oil does not freeze solid, you can scrape out the desired amount as needed
When frozen in oil, herbs maintain their colour better than those frozen without.
This option is helpful for making pastes such as pesto. Use 2 cups of fresh herbs with ⅓ cup oil and blend in a blender or food processor until smooth.
Be Food Safe aware: Oil should only be added to herbs that you will be freezing. It’s safest not to store herbs in oil at room temperature.
DRYING HERBS
Some methods of drying herbs need equipment (oven, dehydrator) while some are low tech and just need a paper bag (hanging). The method you choose depends on your climate and the herbs you are drying. Some herbs such as oregano, thyme and sage can be easily dried by hanging. Others with their thicker leaves, such as basil and parsley, do better in an oven or dehydrator.
With all of your herbs, rinse them under fresh, cool water and remove excess water before drying. Herbs are dry when their leaves crumble easily. Always store in labeled and dated airtight containers such as canning jars, used jam jars, or spice jars. To retain the best flavour, keep the leaves whole until you are ready to use them. Just before using, crush them with your fingers and add to your dish. Dried herbs are best used within 6 months to 1 year.
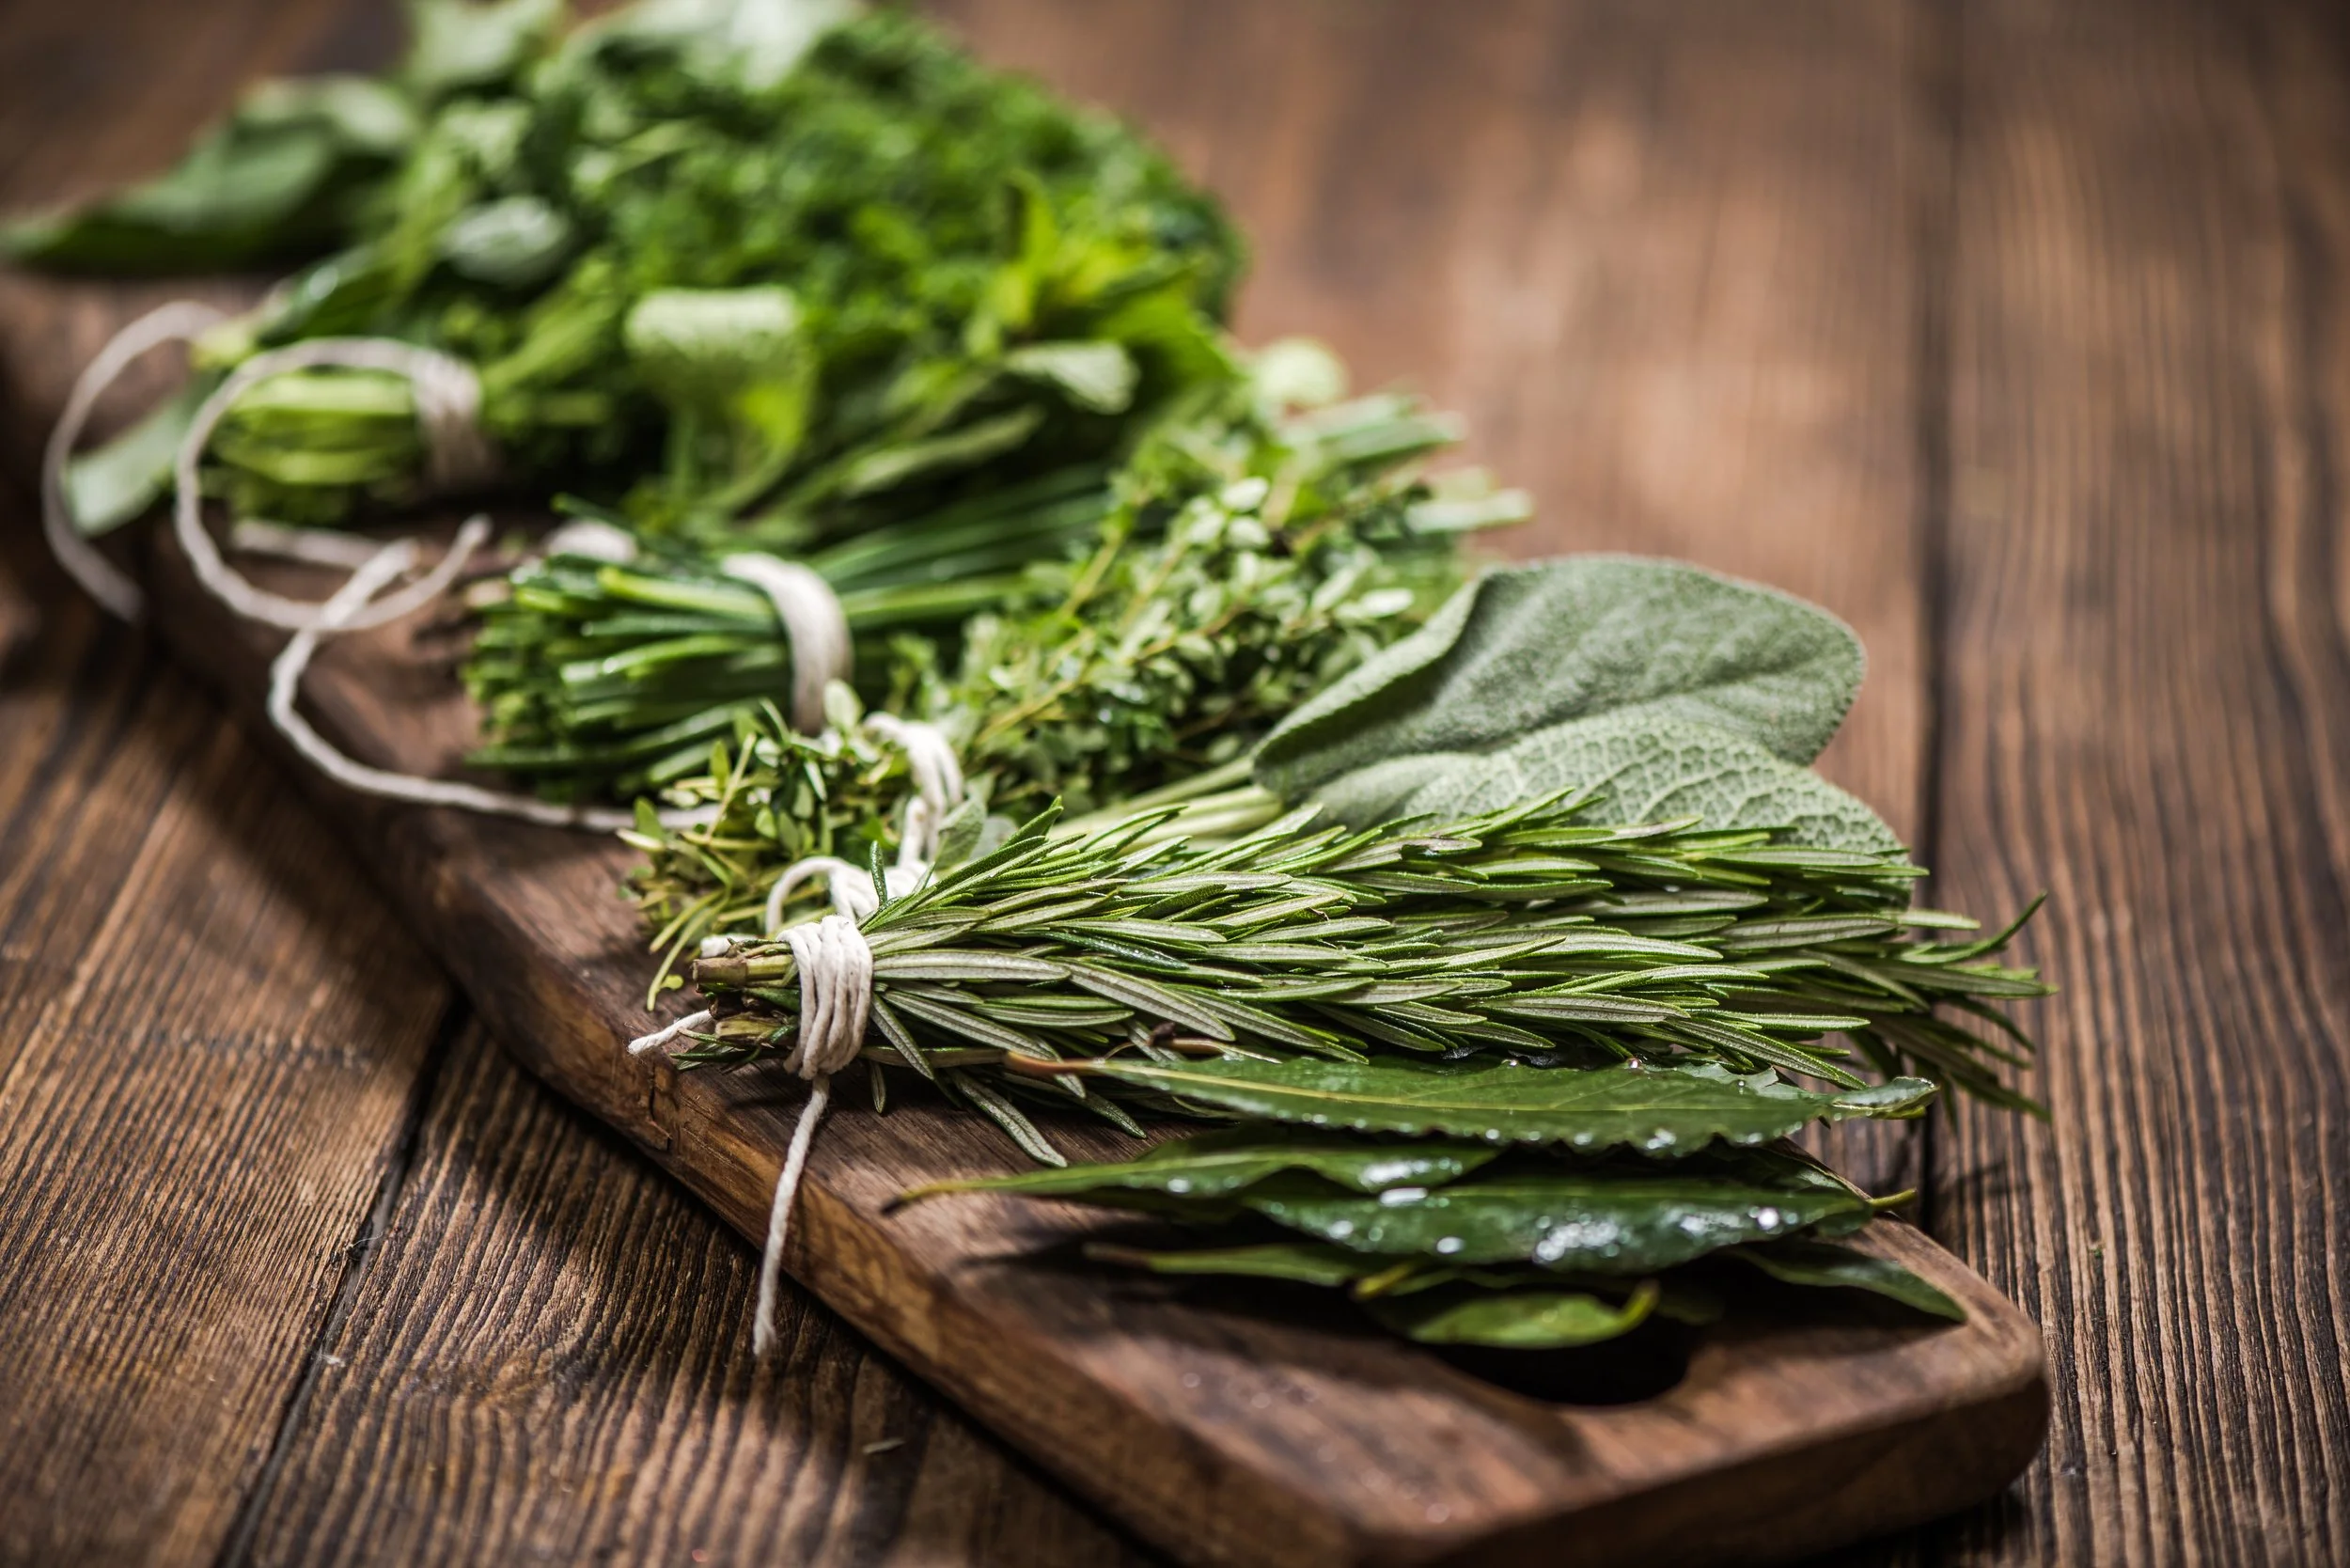
Hanging Bundles
This method is one of the oldest and easiest ways to dry herbs.
Wash and dry your herbs. Damp herbs take much longer so try your best to gently dry them as much as possible.
Gather 5-10 branches together and tie with string or a rubber band. The smaller the bundle, the easier and faster they will dry.
Using a string or clip, hang them to dry in a dark, well-ventilated place. If the day is sunny and warm, leave them outside in the shade to wilt and dry a little before hanging.
To keep off dust and debris, enclose the bundle, stem side up, in a paper lunch bag. Tie the end of the bag closed, careful not to crush the herbs, and add a few holes for ventilation.
When leaves are dry, remove them from their stems and store in an airtight jar.
Herbs can dry and be ready to transfer to a clean air tight container (glass jar) within one week.
Oven
Drying in the oven may not be the most energy efficient method but it is great if you don’t have a dehydrator or a place to hang herbs to dry. Ideally, dry one or two varieties at a time as drying times vary depending on the herb. If you dry multiple herbs at a time, keep an eye on them so you can remove them when they are done. Oven-dried herbs will naturally cook a little, which will remove some of the potency and flavour. Plan to use a greater measurement in your recipes.
Wash and dry your herbs. Damp herbs take much longer so try your best to gently dry them as much as possible.
Arrange cleaned leaves and/or stems in a single layer on a cookie sheet. Remove big leaves from stems, leave herbs like thyme and rosemary on their stems.
Heat the oven to its lowest setting (approx 180°F/80°C) and set the trays on racks in the middle of the oven.
Leave for 30 minutes with the oven door propped open to let moisture out. If your oven won’t let you leave the door open, hold it open for 1-2 minutes halfway through the 30 minutes.
Stir occasionally during this process.
After 30 minutes check the herbs and rotate the baking sheets if necessary. Continue to dry and check every 15 to 30 minutes.
When the leaves crumble between your fingers, they’re done.
Timing for oven drying depends on your minimum oven temperature, the herbs drying, and your climate. Plan for herbs to take between 45min-3 hours (more delicate herbs will take less time).
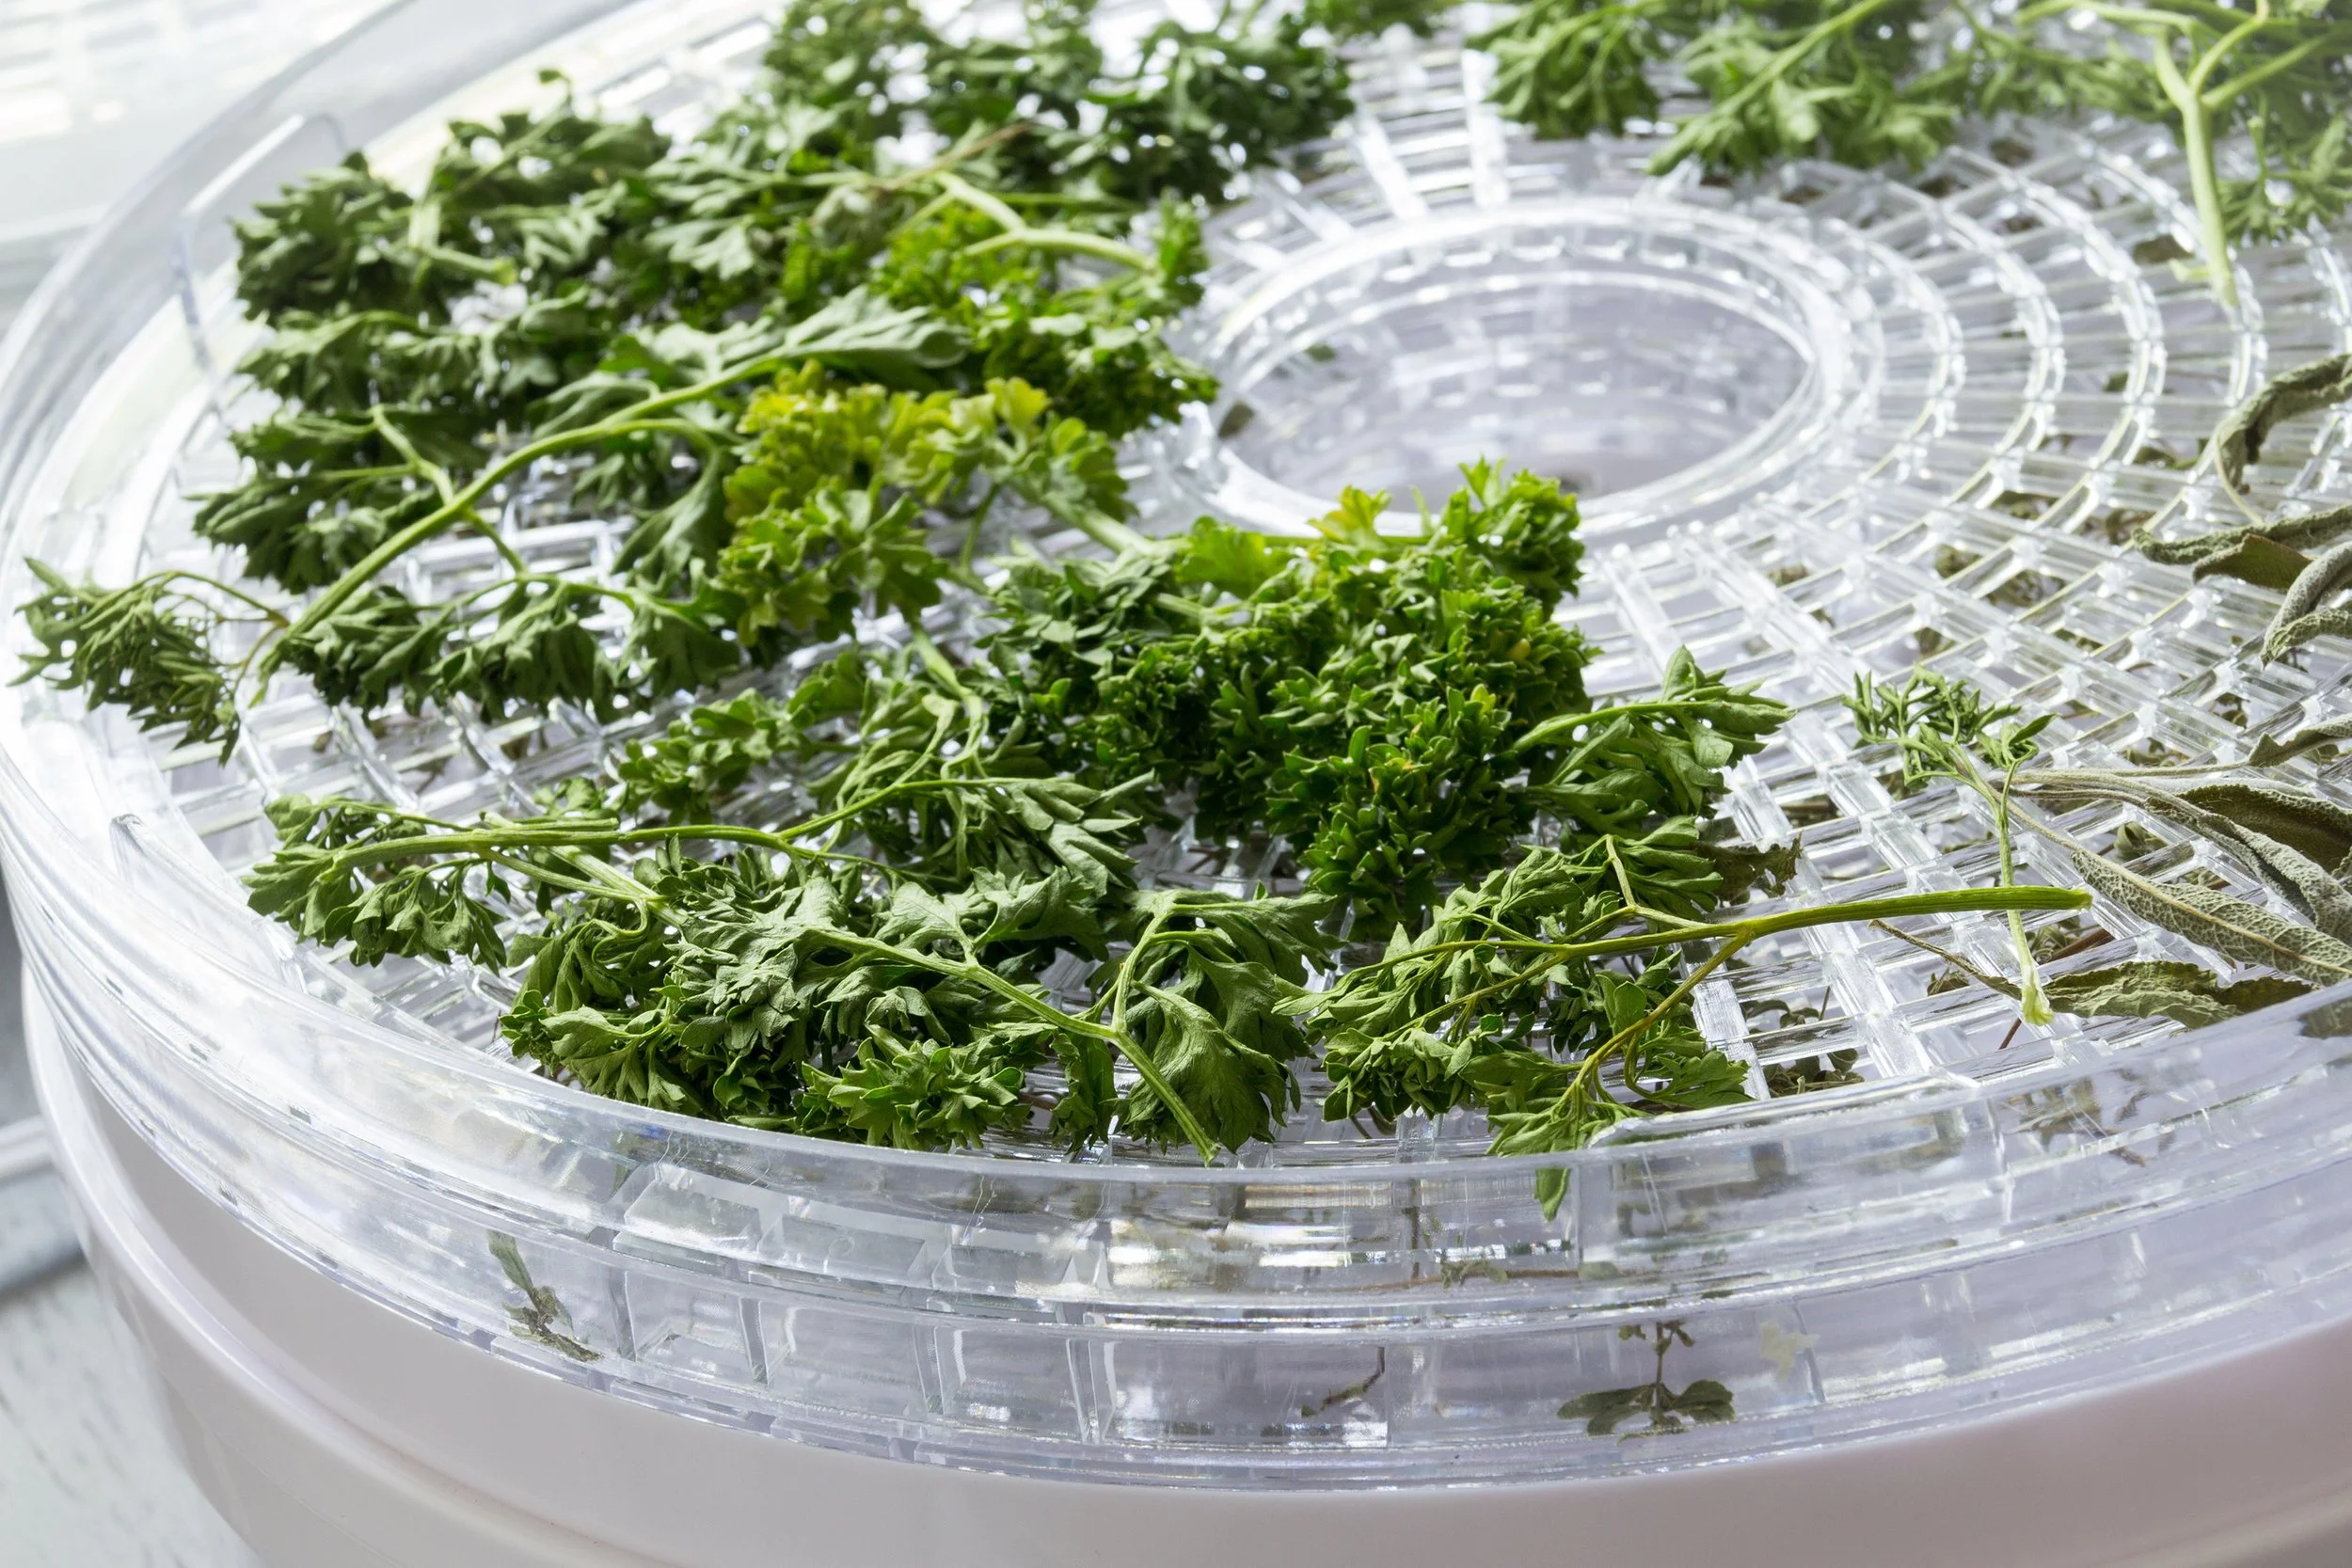
Dehydrator
Dehydrators are a quick and simple way to dry herbs. Using a dehydrator enables you to preserve the richness of herbs better than oven drying or air-drying. The temperature is set very low, at approximately 95°F/35°C and has continuous airflow across the drying racks. Herbs will be dry and crumbly when ready. I use a wide mouth funnel to pour them into labeled glass jars. If you don’t have a wide mouthed funnel, you can pour your herbs into a paper bag and then into your glass jar.
Wash and dry your herbs. Damp herbs take much longer so try your best to gently dry them as much as possible.
Place herbs in a single layer on the dehydrator trays.
Drying times may vary from 1 to 4 hours. Check periodically.
Herbs are dry when they crumble, and stems break when bent.
Check your dehydrator instruction booklet for specific details.
COOKING WITH HERBS
When using herbs in a recipe, note whether or not dried or fresh is requested. Dried herbs are often added during the cooking process to impart flavour while cooking. Common dried herbs popular in recipes include oregano, rosemary, sage, and thyme. Fresh herbs are often added as the last step once cooking has been completed. They are more delicate and cooking them will ruin their flavour. Commonly used fresh herbs that you can use to bring brightness and freshness to recipes are mint, cilantro, and parsley.
Dried herbs are more concentrated in their flavour than fresh herbs, so smaller quantities are used in cooking than when using fresh herbs. As a general rule, each tablespoon of fresh herbs called for in a recipe can be swapped with 1 teaspoon of dried herbs, and vice-versa.
If you are using herbs for medicinal or cosmetic purposes, it is safest to use them dried so you can keep your products safe from bacteria, mold, and yeast.
The best way to preserve your herbs comes down to preference and how you plan to use the herbs later. Herbs with hard, woody stems and tough leaves make good dry herbs, but tender herbs are better preserved through other methods such as freezing.
xo
Krista